
How to make a multi-screen prototype in Framer JS
Originally published on Medium.
A step by step guide for fellow designers, Framer JS beginners. Topics covered: Page Component | Scroll Component | Some basic programming
Let’s create a click through prototype which will have multiple screens. We will start off by creating a structure for our pages. This structure is called as a Page component in Framer JS. Let’s see how it works.
1. Setup the page component
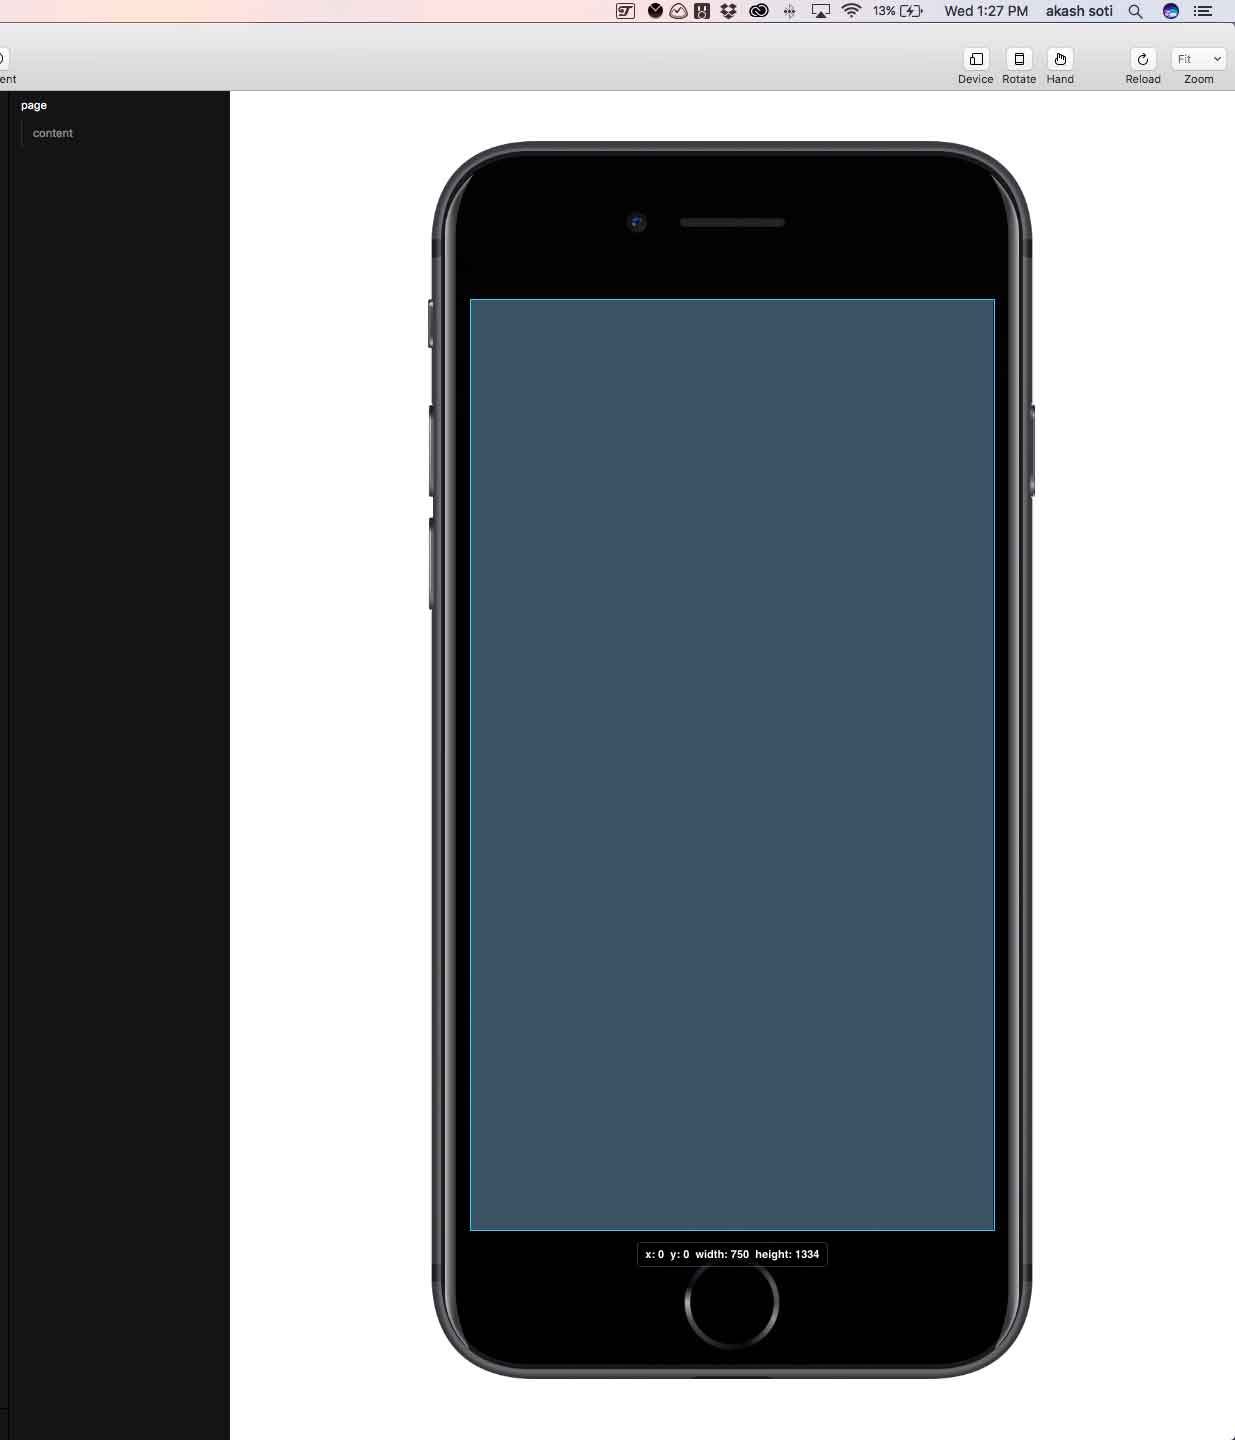
Our page is setup and is taking the full width and height of the screen.
page = new PageComponent
  width: Screen.width
  height: Screen.height
  scrollHorizontal: false
  scrollVertical: false
The above code will create a page component for you which will hold all of your different pages. We are going to keep scrollHorizontal & scrollVertical to false, because page component by default has a swipe to scroll behaviour, which we don’t want. We want to switch page only when we tap on a button.
Also, we want the page component to take up the screen’s width and height. Whatever phone you pick for your prototype we want to take it’s screen width and screen height.
Now this component is the DADDY of your prototype, it’s the base which will hold everything together.
2. Let’s make our first page
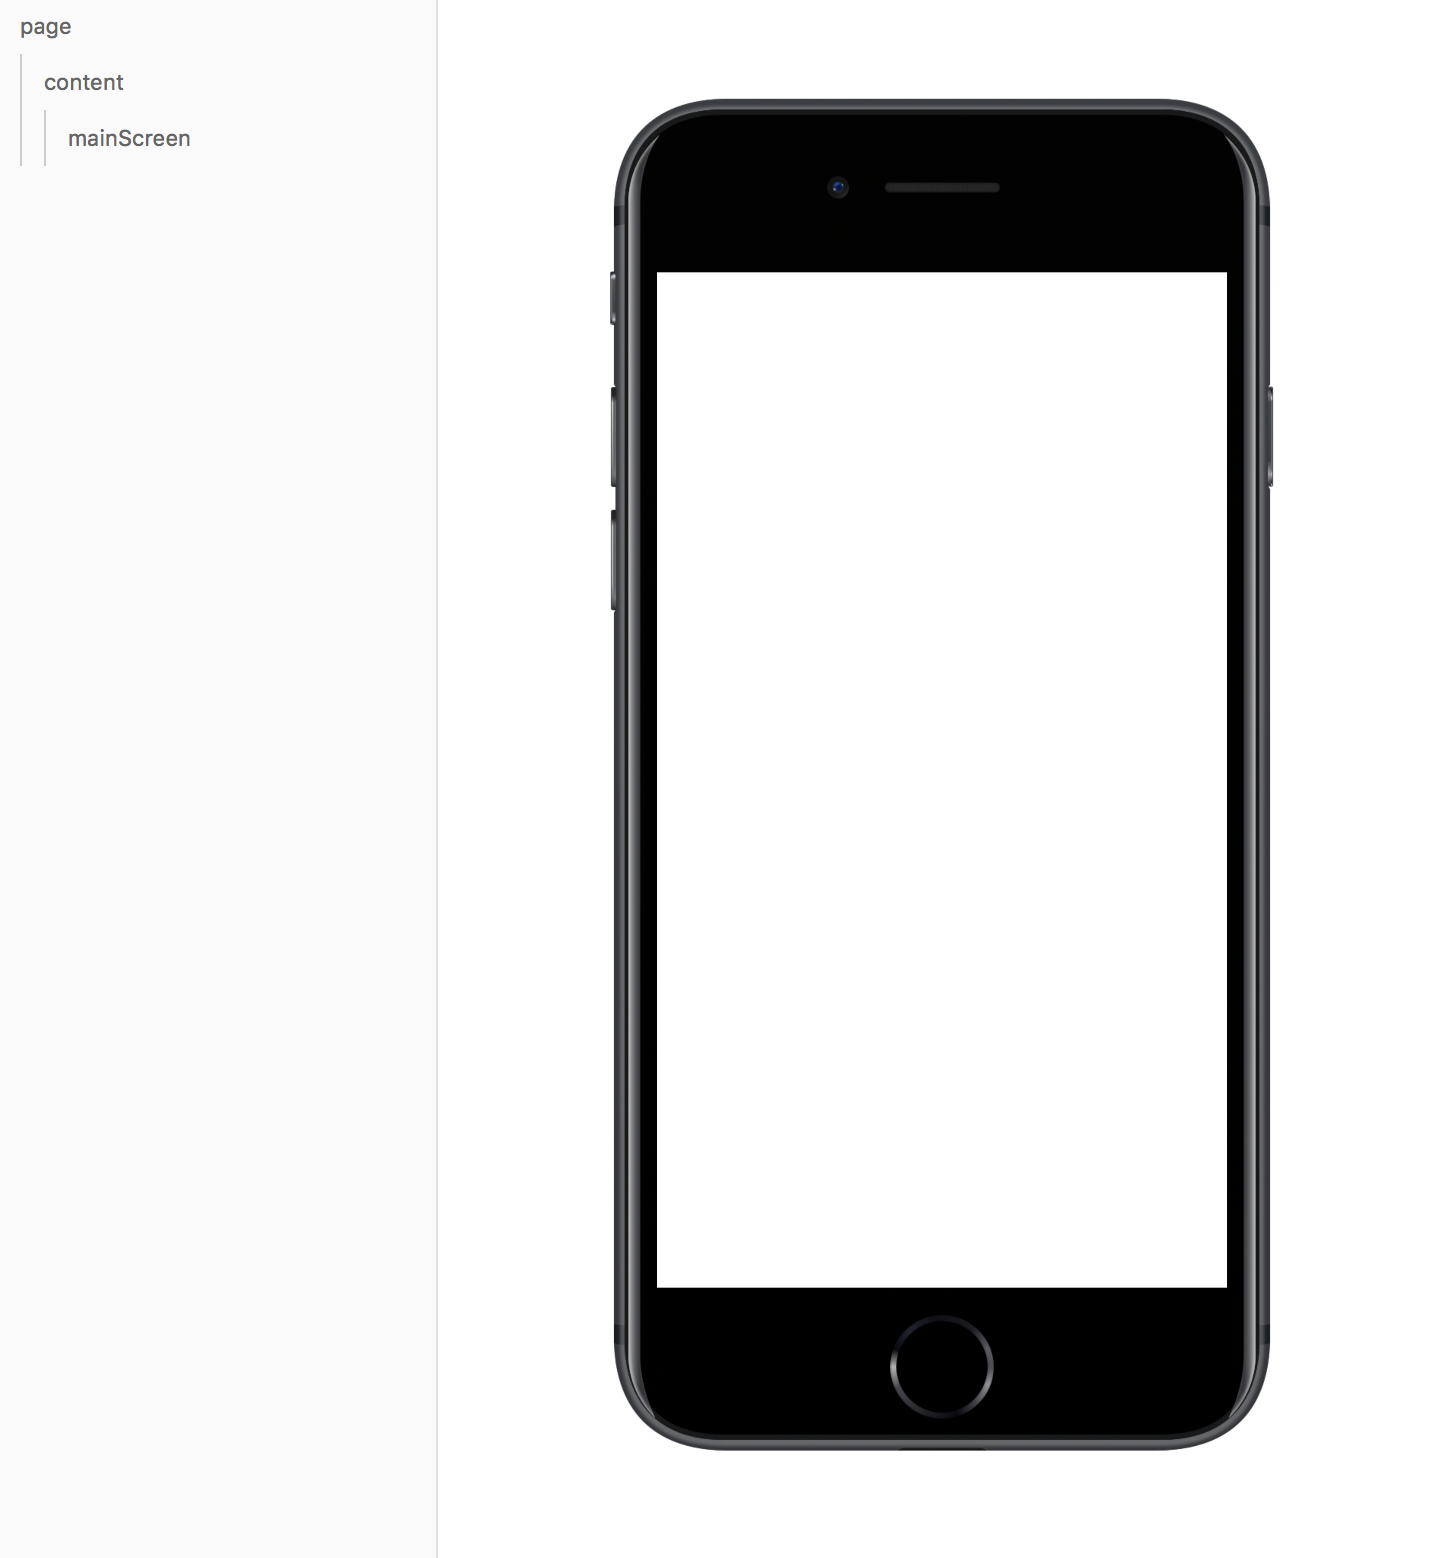
#page 1
mainScreen = new Layer
  width: page.width
  height: page.height
  parent: page.content
  backgroundColor: "white"
This is the setup for your first page. Your first page will take up the height and width of the page component you defined above, and will have a white background.
Now we can add elements to our page and attach events.
Notice: the parent layer for this page(mainScreen) will be the content layer of the page component( the component we defined in the beginning.)
Think of defining layers as boxes inside boxes, Page component is the biggest box, inside which are all the smaller boxes.
parent: page.content
2.1 Create a scroll component in this screen and add some content
mainScreenScroll = new ScrollComponent
  width: Screen.width
  height: Screen.height
  parent: mainScreen
  scrollHorizontal: false
What we did here is created a scroll component which will hold the screen which we want to scroll. We defined it’s parent , mainScreen and we don’t want a horizontal scroll so made it false.
Now we need some content to scroll.
I have created a long list of pictures in sketch, which we will make scrollable in our prototype. I have attached a link to the files and images at the end of the post.
Let’s export that image to framer. Just drag and drop the image in Framer. When you drag and drop an image, by default it is the last layer to be created in code.
picture_group = new Layer
  width: 670
  height: 7240
  image: "images/picture_group.png"
  parent: mainScreenScroll.content
  x: Align.center
Notice: We have created a scroll component and whatever layer you want to make as scrollable should go inside it.
i.e it’s parent should be mainScreenScroll.content , the scroll component we created earlier.
Now when you do this, your scrollable image may fall out of place, it won’t be centered or may not have enough margin at the top/bottom.
To align layer use the Align property.
To have necessary margin in a scrollable image use contentInset on the scroll component.
mainScreenScroll.contentInset =
  top: 170
  bottom: 200
I gave 100px on top and 200px on bottom and used Align.center on x property to make it centered. Take a look at the screen below.
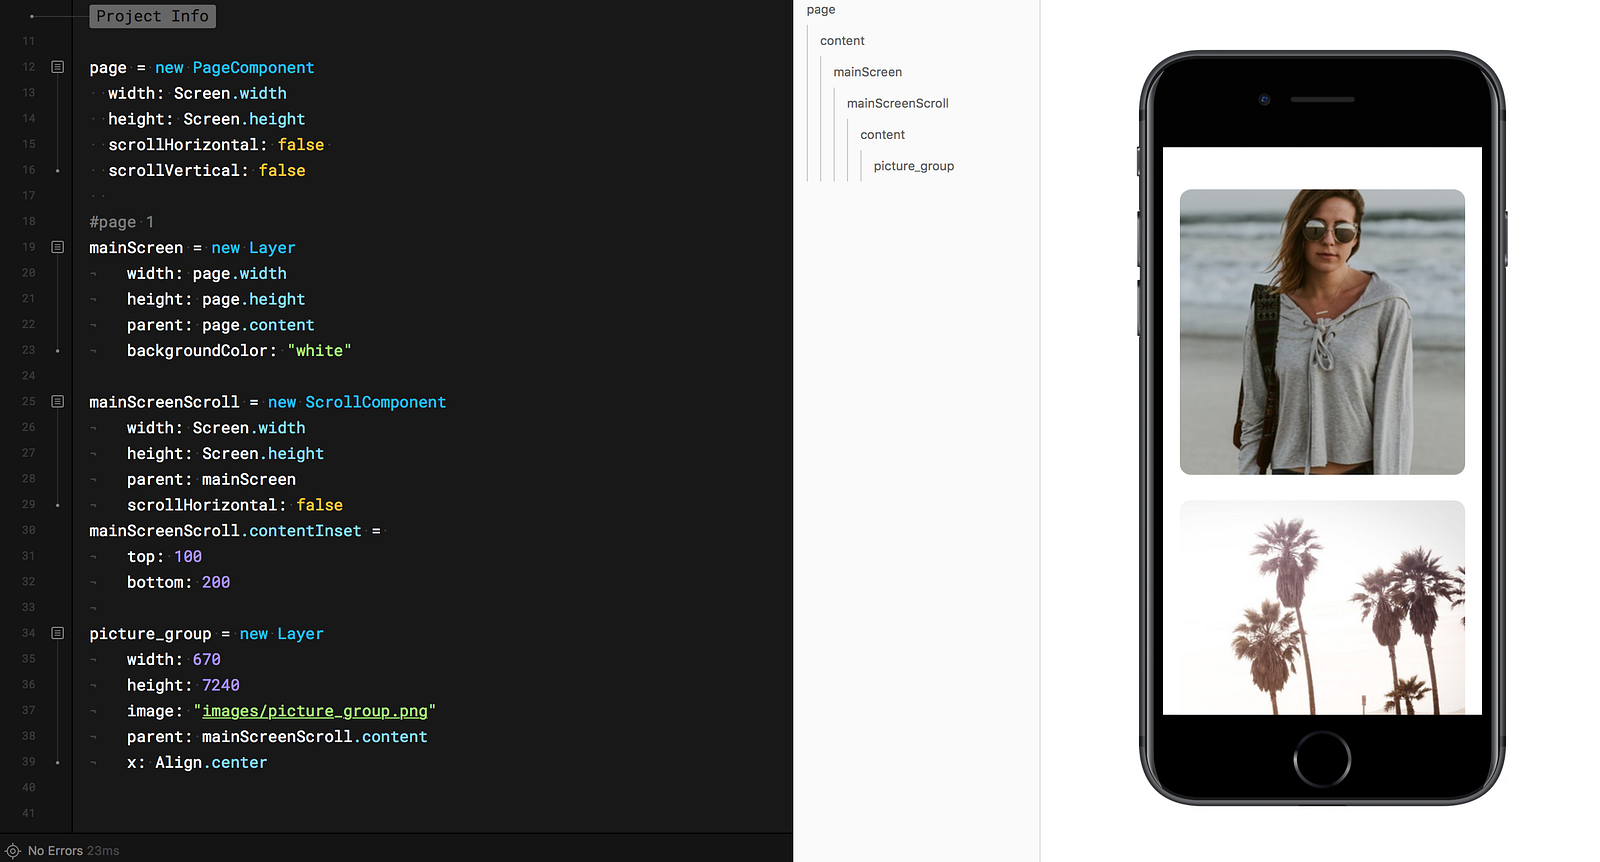
Notice the layer hierarchy. Page is holding the content, which has mainScreen, which has a scrollable area whose content has the picture group.
2.2 Let’s add a blue button and make it clickable and navigate to a new page.
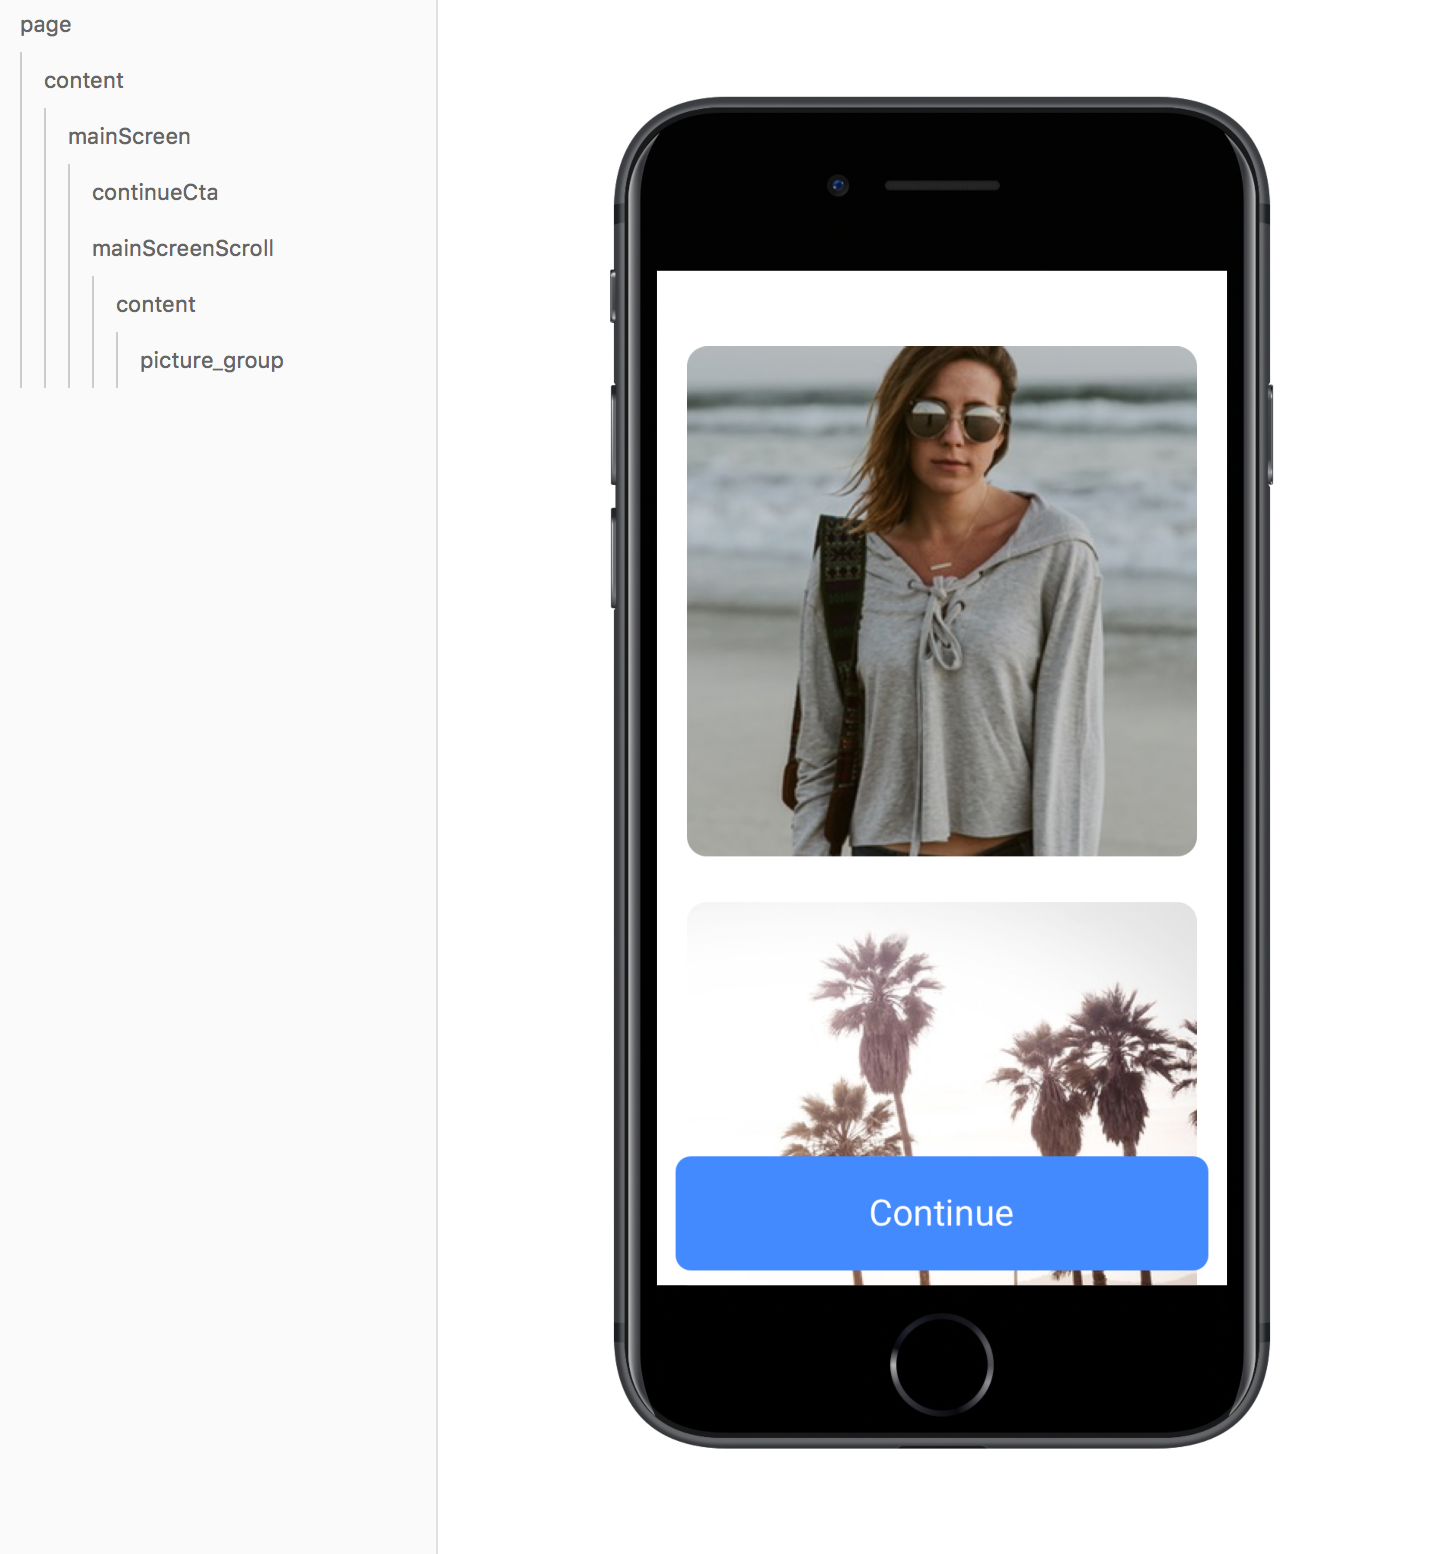
continueCta = new Layer
  width: 700
  height: 150
  image: "images/continueCta.png"
  x: Align.center
  y: Align.bottom(-20)
  parent: mainScreen
We simply made a button in sketch and drag-dropped it in Framer. Nothing fancy. But the important thing to notice is where will the blue button should be added in framer layer tree(the left column in the pic below). You need to be careful about element’s parent layer.
<https://medium.com/media/73a61e258f77a8c4b8dee5672e0cdad7/href>
Note: we wanted the button to come on top of all the layers in mainScreen, hence we created it last.
before we attach a click event and navigate to the next page, let’s add iOS status bar and title bar at the top to make our proto look like a proper iOS app.
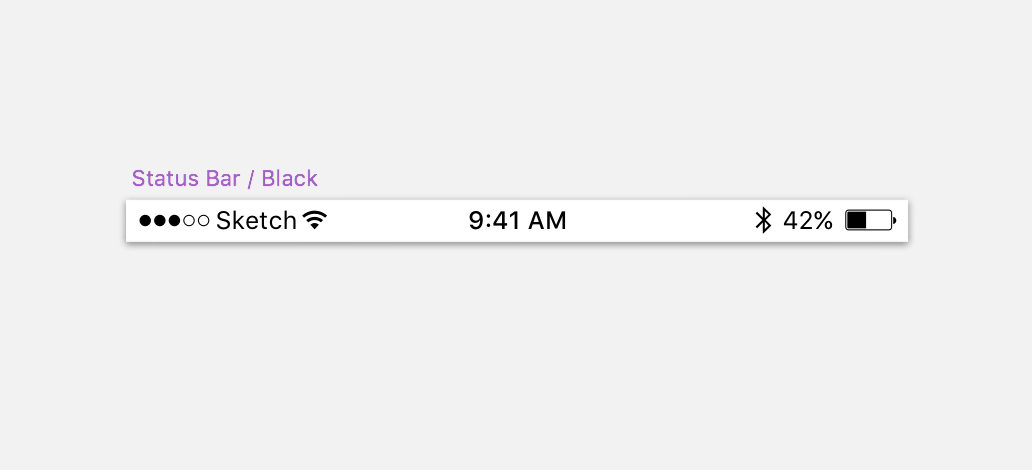
statusBar = new Layer
  width: 750
  height: 40
  image: "images/status_bar.png"
  parent: page
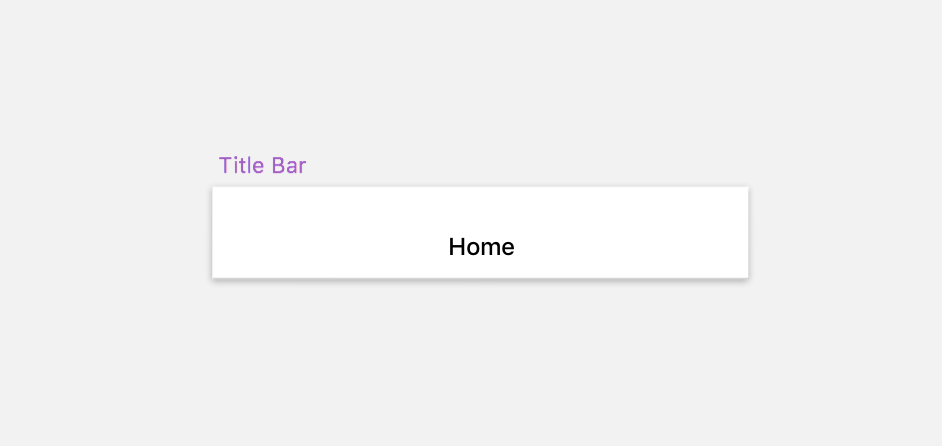
I had the status and title bar ready in my sketch file, so just exported them to @2x and drag-dropped them in Framer.
Note: Status bar will come on top of every other layer so we will create this layer inside the page component’s content layer, above the rest of the layers. The title bar will be inside the mainScreen page we made . Take a look at the attached screen.
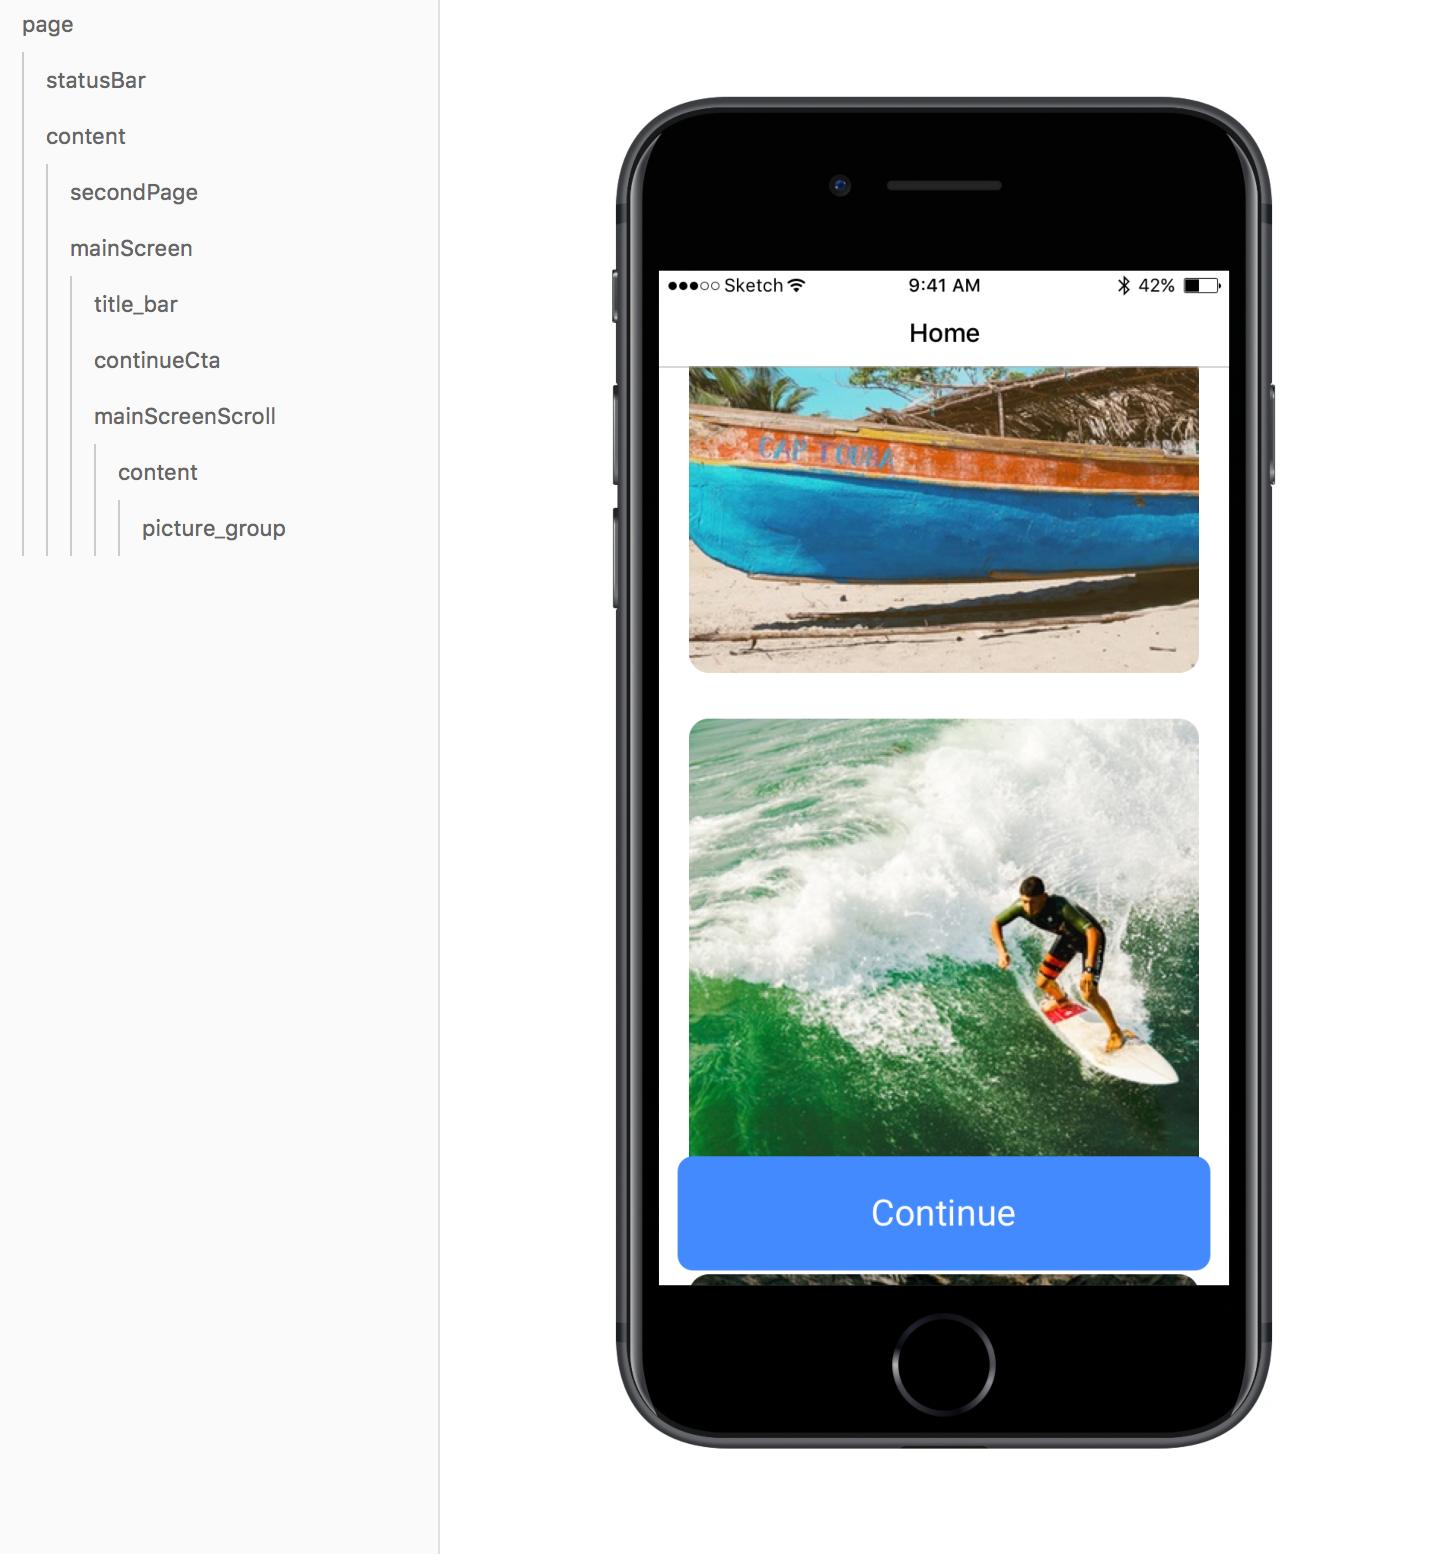
Yay!! we have a title and status bar at top, sweet!
Now let’s add another page.
3. Add a new page and navigate to it.
Now we will add a page to our page component. The new page won’t be visible, because when you add it, it gets added to the right of the screen.
#page 2
secondPage = new Layer
  width: page.width
  height: page.height
  backgroundColor: "white"
#add a title bar for this page too
titleBarTwo = new Layer
  width: 750
  height: 128
  image: "images/titleBarTwo.png"
  parent: secondPage #the parent is now secondPage
#this is where we add new pages
page.addPage(secondPage)
We created a page added a title bar to it and added that page to the page component.
Now we will link the page to the blue button via a click event.
#let's add click event to the button which navigates to second page.
continueCta.on Events.Click, ->
  page.snapToPage(secondPage)
When continueCta is clicked we are calling a function snapToPage which helps us snap to the second page. We simply passed our secondPage layer to snapToPage function and now our prototype is switching to next page.
On the second page I created a click event on back too so that we can come back to the home screen.
- first make a transparent layer in framer, a little larger than back so that it has a good enough hit area.
- add a click event to it.
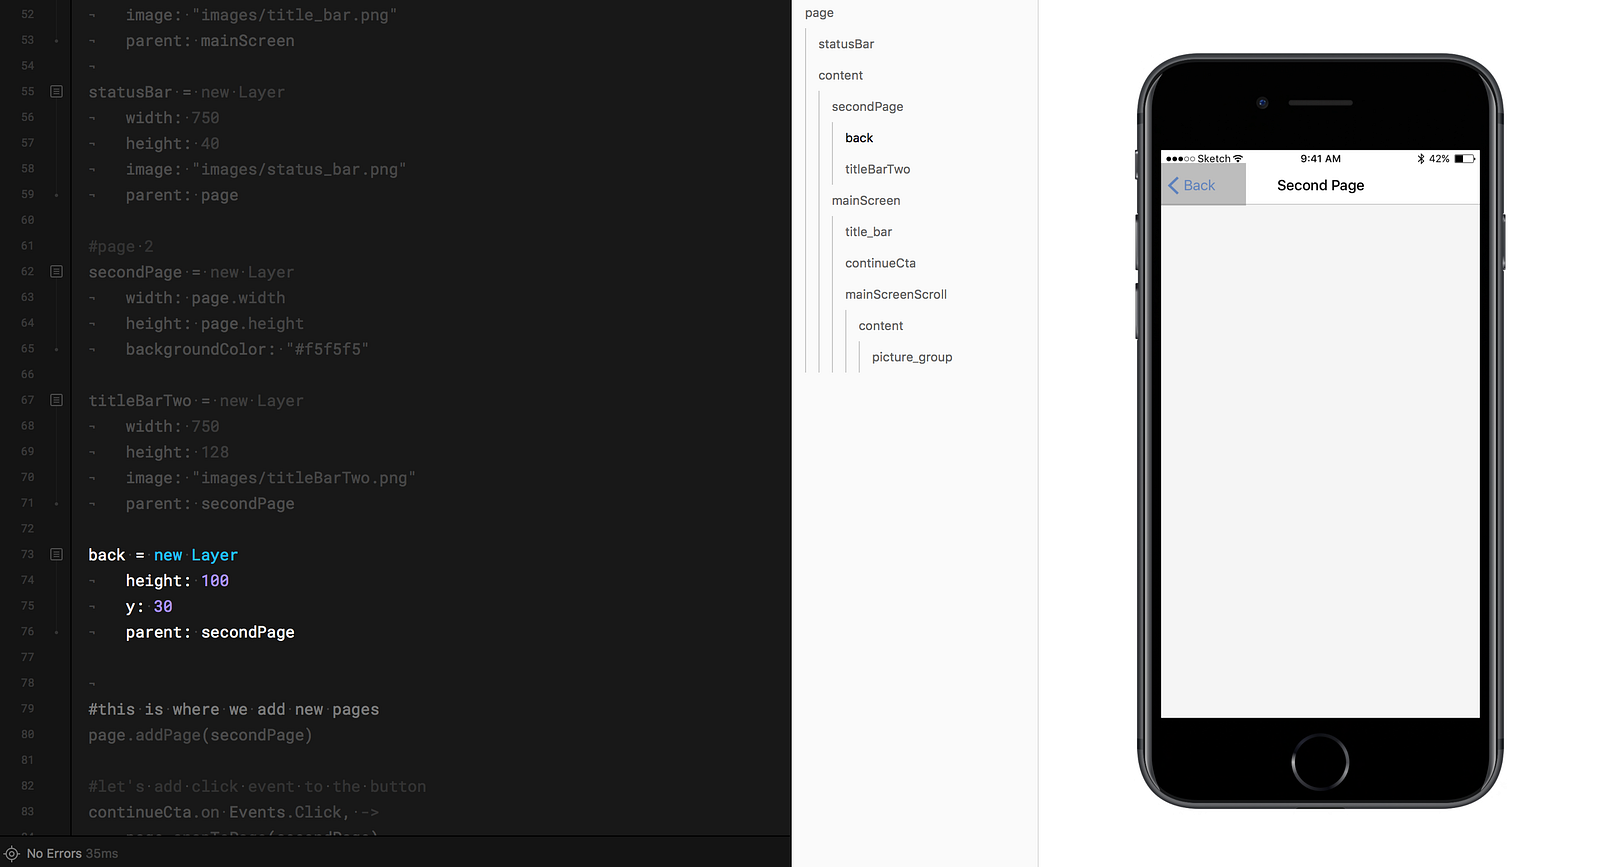
back = new Layer
  height: 100
  y: 30
  parent: secondPage
  backgroundColor: "transparent" #make it transparent when you have placed it perfectly on top of your button.
back.on Events.Click, ->
  page.snapToPreviousPage()
<https://medium.com/media/31eb58d53723b267b822684892e90bc9/href>
You now know how to create a page and add it to your page component.
- Create a new layer for your page.
- Decorate it with the elements you want.
- Add it as a page to the page component you have created.
Boom, you have a working prototype!
Let me know if you have any queries. I will help you out. I am attaching a link to the files for the prototype. You can download the files here , <https://github.com/akujgd/multiscreen-framer-proto>
Cheers!